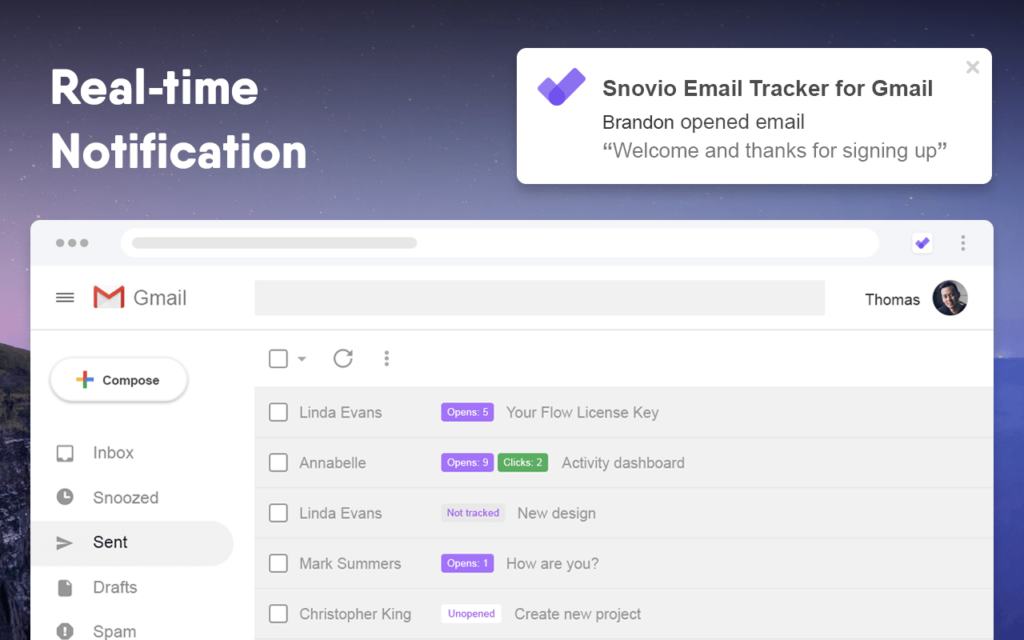
If you’re interested in learning how to easily track the outgoing emails, simply continue reading to discover how to properly do that. Unfortunately, not all email providers do not offer such a feature. Luckily, on the web, you can find anything including email tracker extensions.

One of such tools is Snovio Unlimited Email Tracker. Let’s have a look at how you can take advantage of it.
A step-by-step guide to installing the extension
Follow these three simple steps to start working with the extension.
1. Install an email tracker extension to the browser
The first step in being able to track the emails is to quickly install the email tracker extension to the browser. Go to the Chrome Web Store and install the trusted email tracker extension designed by Snovio by clicking the Add to Chrome button.
2. Activate the email tracker
When the installation is over, you are automatically redirected to the Gmail. On the screen, there’s popup menu asking you for activation the tracker for the default email address (see the screenshot below). Click the Activate button and wait until the page reboots.
3. Set the extension
If you have multiple accounts on the PC, do not want to track links, have no desire to see annoying push notifications when the email is opened, or change any other setting, click the extension icon and change the settings according to your preferences.
The Email Tracker extension features
Once you have enabled email tracking, you’ll see new options. The Unlimited Email Tracker has all the necessary features to support you in business. Here’s the list of them.
1. Send emails at a delayed date
The first thing you can do with the tool is to schedule emails sending (arrow #1 on the screenshot). When you click the button, you can set the time when the email is to be sent. This can be done in two ways: either define in how many hours the email should be sent or set time & date.

2. You can be given email notifications if the recipient performs no action
You can be sent an email notification if the email wasn’t read by the intended recipient by a certain date or time. On the screenshot above, arrow #2.
Which is a great idea, if the email which you send is urgent and you want to ensure that the recipient reads the message by a certain date. As if the message goes unread for several days, you may need to send the follow-up.
You can also elect to be notified if there were links in the email which weren’t followed or if the email was read but you did not get a reply. As it’s really handy to know whether the email has simply gone unread and was never opened or if the email was opened but ignored.
3. Disable tracking the definite email
Yes, if there is a particular email that you don’t want to track (either opens or link clicks), you can disable tracking by clicking the bell button at the bottom of the email builder (arrow #3 on the screenshot). When the tracking is disabled, the bell turns lilaceous with a red mark instead of the green one.
4. Valuable data right in the Gmail
When the email is sent, go to the Sent folder to know the details on the email. Right in the folder, you can see the green label with the number of link clicks and the purple one with the number of opens.
If you click the email, on the right, you will see the detailed information on how many times and, what is more important, when the email was opened and the link was clicked.

Track the emails for free
So if you’re interested in email tracking which you send to find out exactly when they’re opened or whether you’ve received a reply, it’s well worth referring back to this handle guide on tracking emails. What is fascinating in this email tracker is that it is completely free and unlimited. Moreover, the extension doesn’t insert any visible logos or signatures in the sent messages.
To read more on topics like this, check out the technology category.


